In this article I will share how to create Flip Cards in Divi using a free plugin.
The plugin we will be using is Flip Cards Module for Divi. It is a free plugin which is available for download from the WordPress plugin directory.
The first step is to install the plugin on your website. If you are not sure how to install a plugin then you can read this article how to install a WordPress plugin.
Here is a preview of how the flip cards will look by the end.

Adding Flip Card Module on a Page
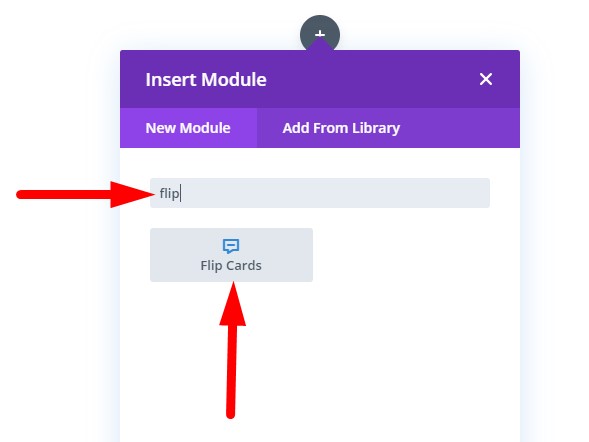
Once you have successfully installed the plugin on your website the Flip Cards module should appear in your Divi Builder. If you had the page already open before you installed the plugin then you will have to refresh it.
If you are having trouble finding it in the list of modules then you can use the search bar to find it.
Adding Content to the Flip Cards
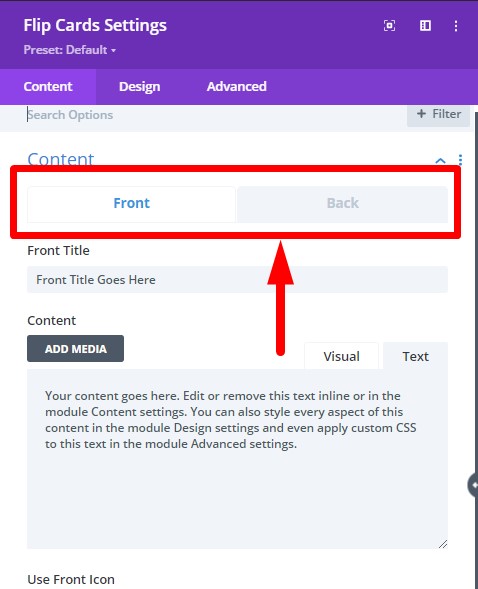
The content for the flip cards can be set inside the Flip Cards Settings > Content > Content toggle.
There are two tabs in the toggle. The first one is for the front flip card and the second one is for the back flip card.
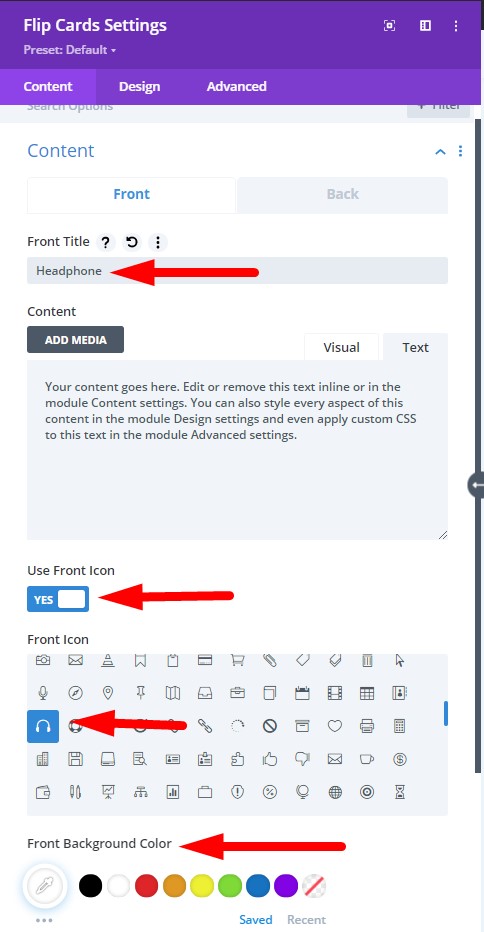
Lets update the Front Card settings with the following details.
- Front Title : Headphone
- Content : Leave default
- Use Front Icon : Yes
- Front Icon : icon_headphones
- Front Background Color : #ffffff
The back flip card has some extra settings for the button. Lets fill the Back Card tab with the details below.
- Back Title : Music
- Content : Leave default
- Button Text : Learn More
- Use Back Icon : Yes
- Back Icon : icon_music
- Back Background Color : #ff6e6c

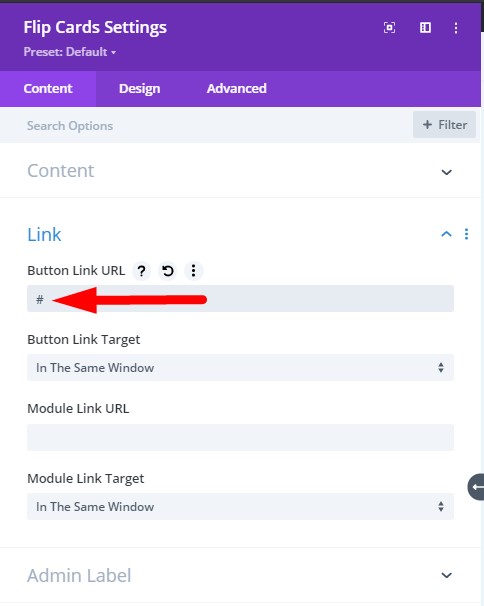
The button will not appear until there is a link set for it. It needs to be set under Flip Card Settings > Link > Button Link URL.
- Button Link URL : #
Styling the Flip Cards
The next step is to style the Flip Cards. All the styling options for the card content such as Icon, Titles and Body text can be found inside the Design tab in the module settings.
Styling the Flip Card Icons
Go the Design > Front Icon toggle and set it with the below settings. The icon alignment should already be set to center by default.
- Icon Color : #ff6e6c
Next set the color of the icon on the back card in the Back Icon toggle.
- Icon Color : #ffffff
Flip Animation Settings
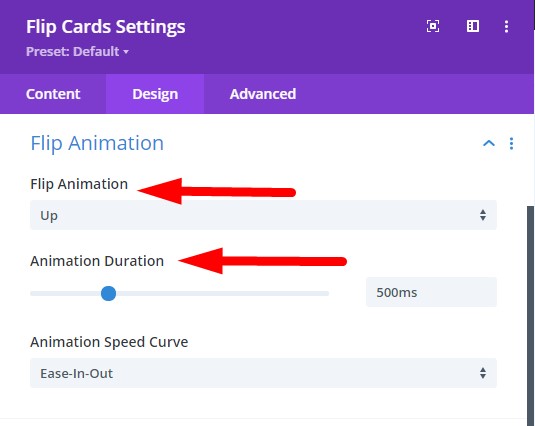
After that lets setup the animation for the flip cards in the Flip Animation toggle. There are 4 flip animation settings in the drop down Up, Down, Left and Right.
- Flip Animation : Up
- Animation Duration : 500ms
Flip Card Title Styles
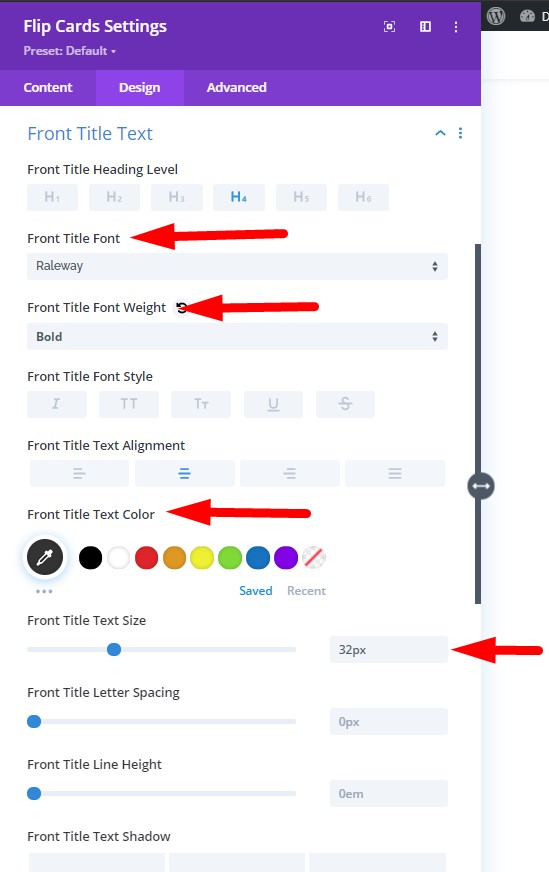
Now we can style the text. Open the Front Title Text toggle and apply the following styles to it.
- Front Title Font : Raleway
- Front Title Font Weight: Bold
- Front Title Text Alignment: Center
- Front Title Text Color: #33333
- Front Title Text Size: 32px
Next apply the very same styles to the Back Title Font toggle with the exception of Back Title Text Color which will be white.
- Back Title Font : Raleway
- Back Title Font Weight: Bold
- Back Title Text Alignment: Center
- Back Title Text Color: #ffffff
- Back Title Text Size: 32px
Flip Card Body Styles
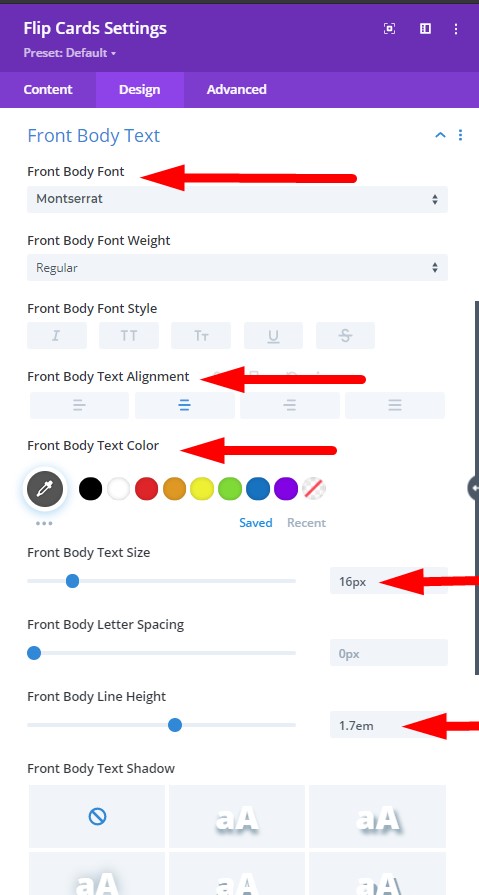
Apply the following settings to the front body text in the Front Body Text toggle.
- Front Body Font : Raleway
- Front Body Text Alignment: Center
- Front Body Text Color: #555555
- Front Body Text Size: 16px
- Front Body Line Height: 1.7em
The back body text will have the same styles except the text color which will be set to white.
- Back Body Font : Raleway
- Back Body Text Alignment: Center
- Back Body Text Color: #ffffff
- Back Body Text Size: 16px
- Back Body Line Height: 1.7em
Flip Card Button Styles
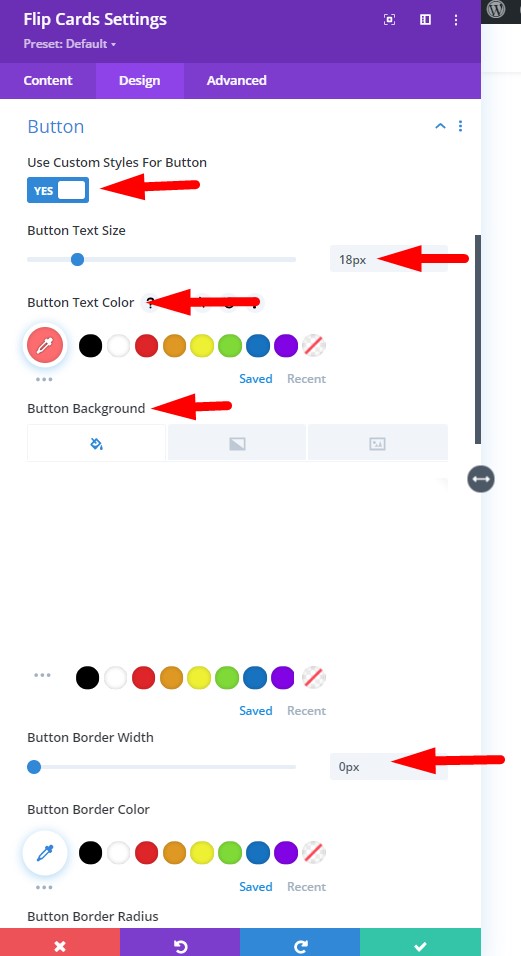
Next step is to apply styles to the button on the back card. You will see all the custom settings after you set use custom style to Yes. You cannot see all the settings mentioned below in the screenshot however they are not difficult to find.
- Use Custom Styles For Button : Yes
- Button Text Size: 18px
- Button Text Color: #ff6e6c
- Button Background Color: #ffffff
- Button Border Width: 0px
- Button Font: Raleway
- Button Alignment: Center
Other Flip Card Styles
There are just two more styles to apply.
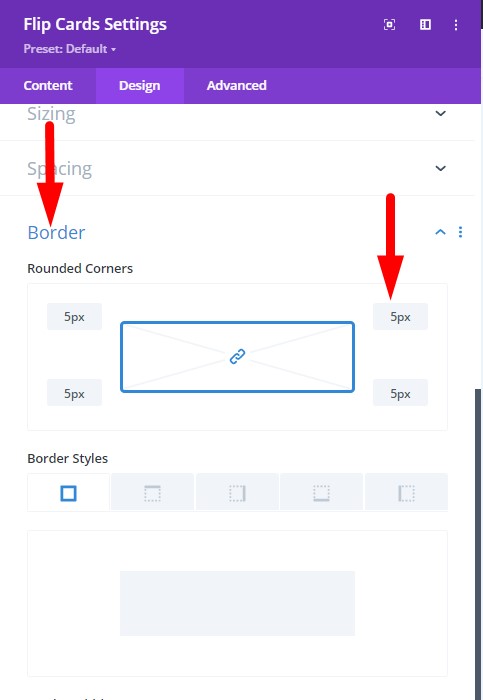
The first it to apply Rounded Corners under the Border toggle to give the card round corners.
- Rounded Corners: 5px
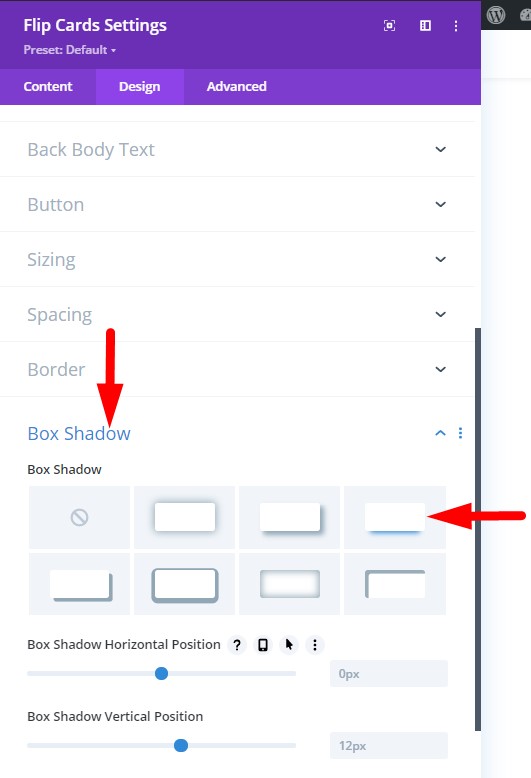
Secondly we will apply a Box Shadow to Flip Card. Choose the last style in the first Row. It should look good with the default settings.
Duplicate Flip Card
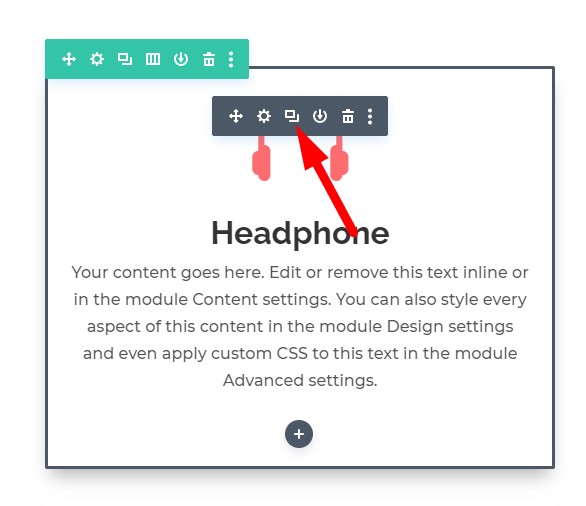
We have styled one Flip Card so far. Now we can duplicate it to create the other three. You can duplicate the flip card by using the duplicate icon.
All the settings in the duplicate flip cards will be the same except the Front Icon Color, Button Text Color, Back Background Color and Flip Animation.
I am not going to share the steps one by one. You can duplicate the module three times and then refer to the images and instructions above if you have trouble finding an option.
The icon, button text and background colors all have the same value. You just have to update them in each flip card.
You can set the Flip Cards with the following color.
- Flip Card 2: #4fbcd1
- Flip Card 3: #9478bb
- Flip Card 4: #da7849
Next we just have to update the animation for each Flip Card in Design Tab > Flip Animation > Flip Animation.
- Flip Card 2 Animation: Down
- Flip Card 3 Animation: Left
- Flip Card 4 Animation: Right
That’s it we are done. Leave a comment below if you found this helpful or have any questions. Don’t forget to subscribe to the Newsletter to receive the latest tutorials and updates in your inbox.
I’d like all my cards to be the same height. No matter what I do I can’t get them to work that way.
Hi Brian,
Please open a ticket in the support forum for any questions related to a specific plugin. The height of the plugins is calculated dynamically so that the front card on each module can be the same as the back card.
You can follow the steps mentioned in the following ticket to make all flip cards a fixed size.
https://wordpress.org/support/topic/impossible-to-get-cards-to-all-be-the-same-height/
Hi,
Borders don’t appear to work – unless I’m doing something wrong of course!
I add a border with and colour and nothing happens.
Thanks
Hi Neil,
You are right they don’t work. Looks like a bug. You can use css code in module settings to add border right now. Open Module Settings > Advanced > Front Card/Back Card and add the following code.
border: 10px solid #000;Here is a screenshot
http://prntscr.com/11hxs76
If the plugin helps I would appreciate it if you could leave a review on WordPress.
https://wordpress.org/support/plugin/flip-cards-module-divi/reviews/?filter=5#new-post
Can I add a background image to the front side of the card?
There is no option right now. I plan on adding it in an update. For now you can use CSS. Open Module Settings > Advanced > Front Card and then add the code.
background-image:url(https://learnhowwp.com/wp-content/uploads/2020/04/divi-overlay-demo-6.png);background-size:cover;
Here is a screenshot.
http://prntscr.com/11hxf77
If the plugin helps I would appreciate it if you could leave a review on WordPress.
https://wordpress.org/support/plugin/flip-cards-module-divi/reviews/?filter=5#new-post
Somehow there is padding being added on the back card above and below title. Also looks like there is an empty between the back title and body. The spacing makes it look horrible and unusable for me.
Could you please open a support ticket on the plugin page with all the details including your url.
https://wordpress.org/support/plugin/flip-cards-module-divi/
I downloaded this plugin and installed the zip file, but whenever I try to add a flip card module in the Divi Builder, it just hangs it up, constantly showing a white cloudy background and never actually loading the module.
I am using the latest version of both WP and DIVI.
Any suggestions on how to fix this are welcome.
Thanks.
I cannot replicate the issue on a new WordPress installation.
https://hesitantwood.tastewp.com/test/
Here are the login details where you can test the module.
URL: https://hesitantwood.tastewp.com
Username: admin
Password: bCV2uGbSFF8
The installation will remain active for 48 hours.
For any further questions about the plugin please open a new request on the plugin support page.
https://wordpress.org/support/plugin/flip-cards-module-divi/