In this tutorial we will add a transition effect to the Divi Header. In this effect the width of the Divi Header will increase when you scroll down adding a smooth transition effect to it. You can have a look at the GIF below to preview the end result.
Now that you have you seen the preview lets get to the code.
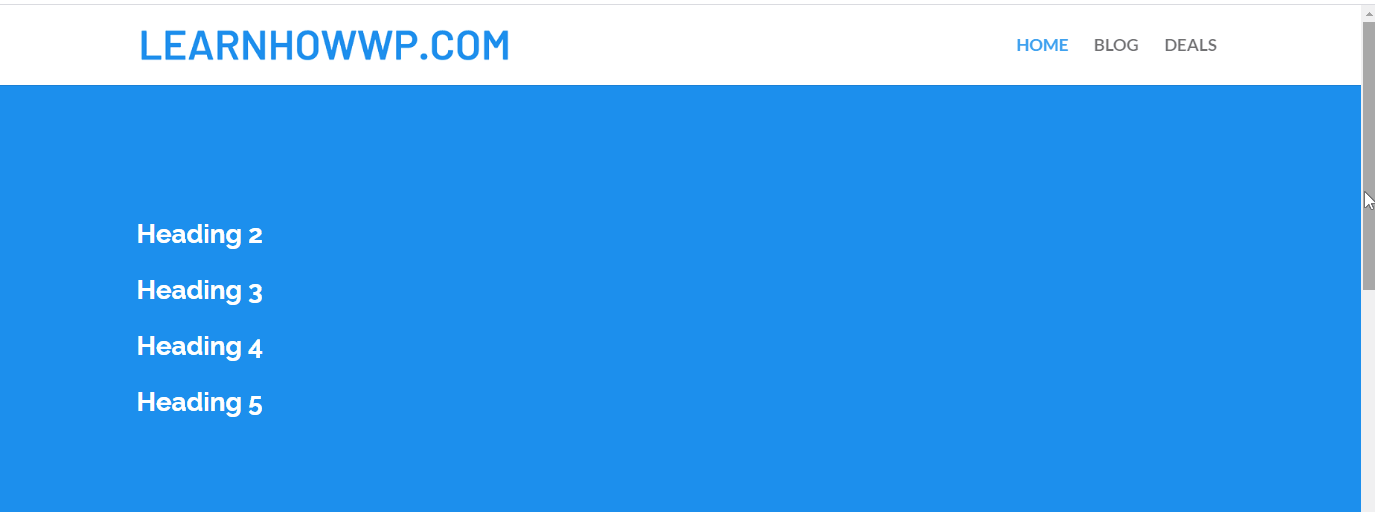
Default Divi Header
Adding this effect to the default Divi Header is pretty simple. All you need to do is add the following code to your WordPress Dashboard > Divi > Theme Options > Custom CSS
.container.clearfix.et_menu_container {
    -webkit-transition:1s;
    -o-transition:1s;
    transition:1s;
    -webkit-transition-timing-function:ease;
         -o-transition-timing-function:ease;
            transition-timing-function:ease;
}

.et-fixed-header .container.clearfix.et_menu_container {
    width:90%;
    max-width:100%;
}
And that’s it we are done. You can change the 1s value in the code to increase the duration of the transition.
You can also change the transition function. To learn more about transition timing functions I will recommend that you check out the article from CSS-Tricks.com. They have done a really great job at explaining it.
Header Built Using The Theme Builder
If you are using a header that is built with the Theme Builder then the code shared above will not work.
In order to add the same affect to a custom header we will need to perform a few extra steps. If your header built with the Theme Builder is not already Fixed then please check out tutorial How to Make the Custom Divi Header Fixed or Sticky
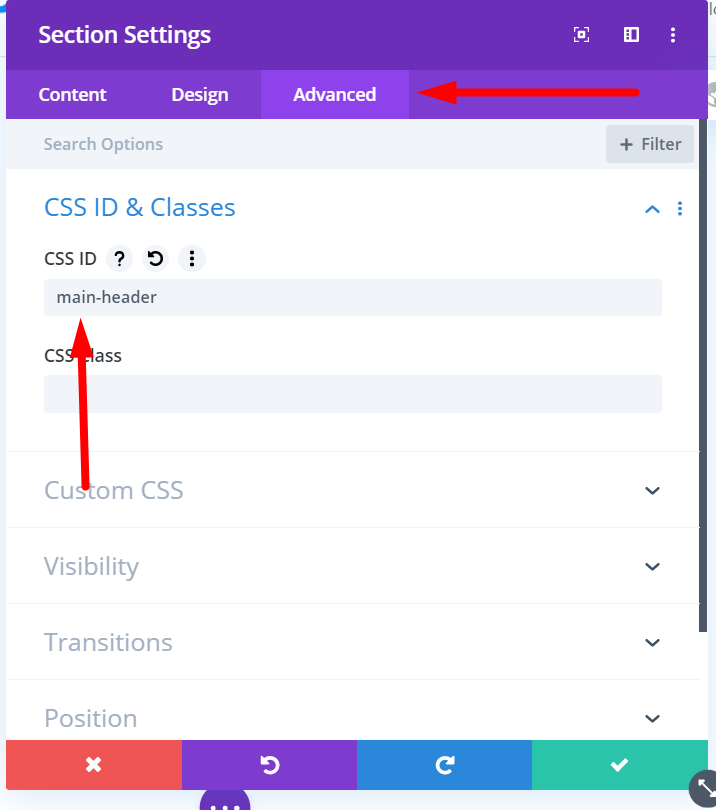
First of all you need to open the Section Settings and add the CSS ID main-header to the Section that contains the menu. The CSS ID needs to be added in the Section Settings > Advanced > Custom CSS ID & Classes > CSS ID
After adding the CSS ID to the Section go to your WordPress Dashboard > Divi > Theme Options > Integration > Add code to the < head > of your blog and add the following code.
<script>
jQuery(function($){
$(function() {
    //caches a jQuery object containing the header element
    var header = $("#main-header");
    $(window).scroll(function() {
        var scroll = $(window).scrollTop();

        if (scroll >= 100) {
            header.addClass("et-fixed-header");
        } else {
            header.removeClass("et-fixed-header");
        }
    });
});
});
</script>
After adding the jQuery code above add the following CSS code to your WordPress Dashboard > Divi > Theme Options > Custom CSS
#main-header .et_pb_row {
    -webkit-transition:1s;
    -o-transition:1s;
    transition:1s;
    -webkit-transition-timing-function:ease;
         -o-transition-timing-function:ease;
            transition-timing-function:ease;
}

#main-header.et-fixed-header .et_pb_row {
    width:90%;
    max-width:100%;
}
The code you just added will work on both a Standard Section that contains a standard Row and also with Fullwidth Section that contains a Fullwidth Menu Module.
Leave a comment below if you found this helpful or have any questions. Don’t forget to subscribe to the Newsletter to receive the latest tutorials in your inbox.
0 Comments